
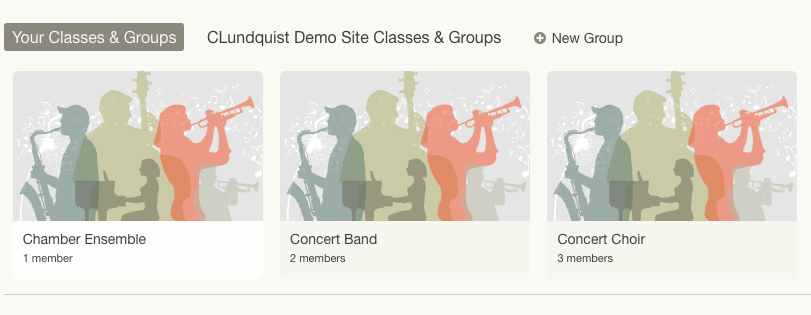
Teachers using a Noteflight Learn site may create an unlimited number of groups to organize classes, ensembles, scores, and assignments. (When integrating with Google Classroom, Noteflight Learn Group automatically mirror classes.) Users must be added to the site first before they can be placed in a group. Each group also includes an optional discussion forum, managed by the instructor.
Follow these steps to create a group:
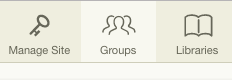
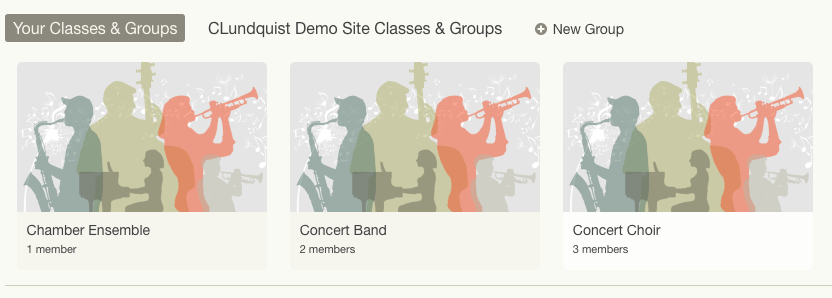
1. Inside your Noteflight Learn site, select the Groups icon in the header of your site.
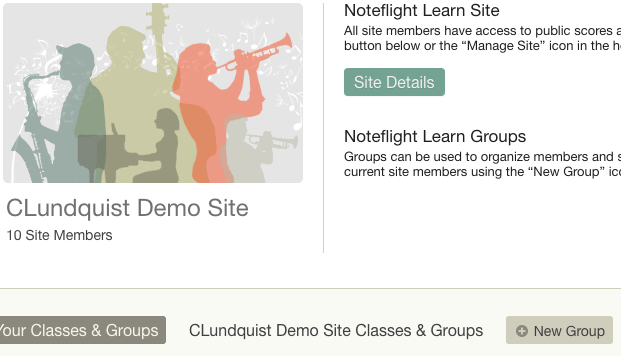
2. Below your Site Title/Site Photo and current members, select “New Group”
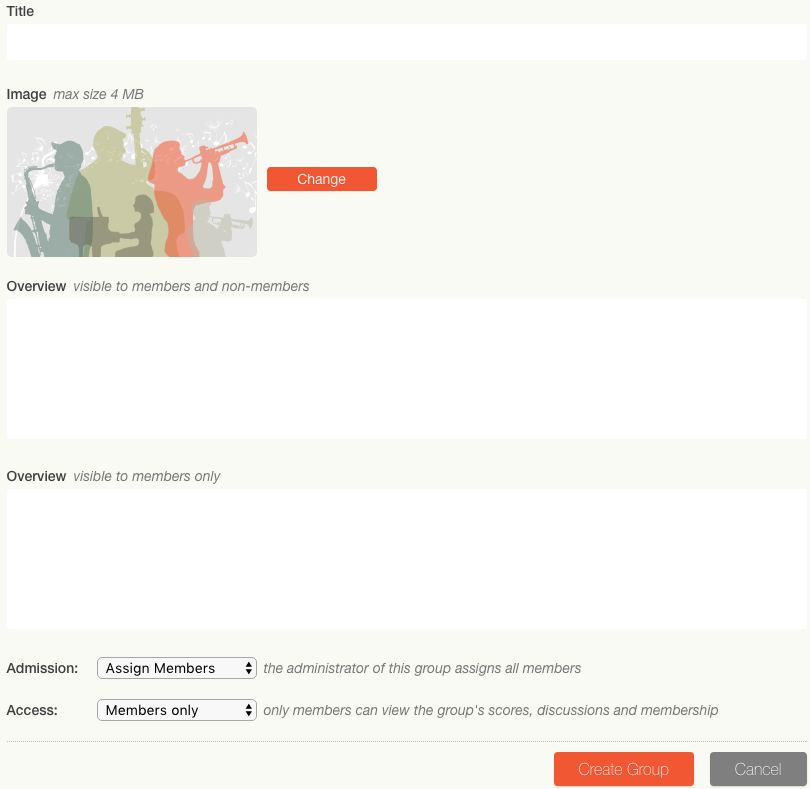
3. Give your group a title and optional image and description. Admission preferences can be changed at any time, so you can either assign students to your groups or set admission to open and let students join the group themselves.
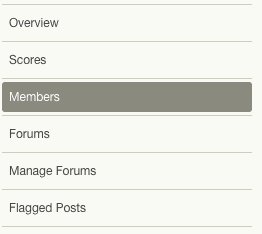
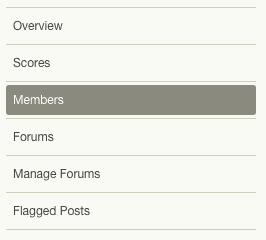
4. To add or remove members of a group, select the group you want to edit, then select “Members” on the left column.
5. Add students by selecting “Add Students”, or add teachers by selecting the teachers tab then “Add Teachers”.


6. To Remove Members from a Group, select the group you wish to edit.
7. Select “Members” in the panel menu on the right side of the page.
8. Select “Edit List”

9. Select what members you would like to remove and click “Remove”
